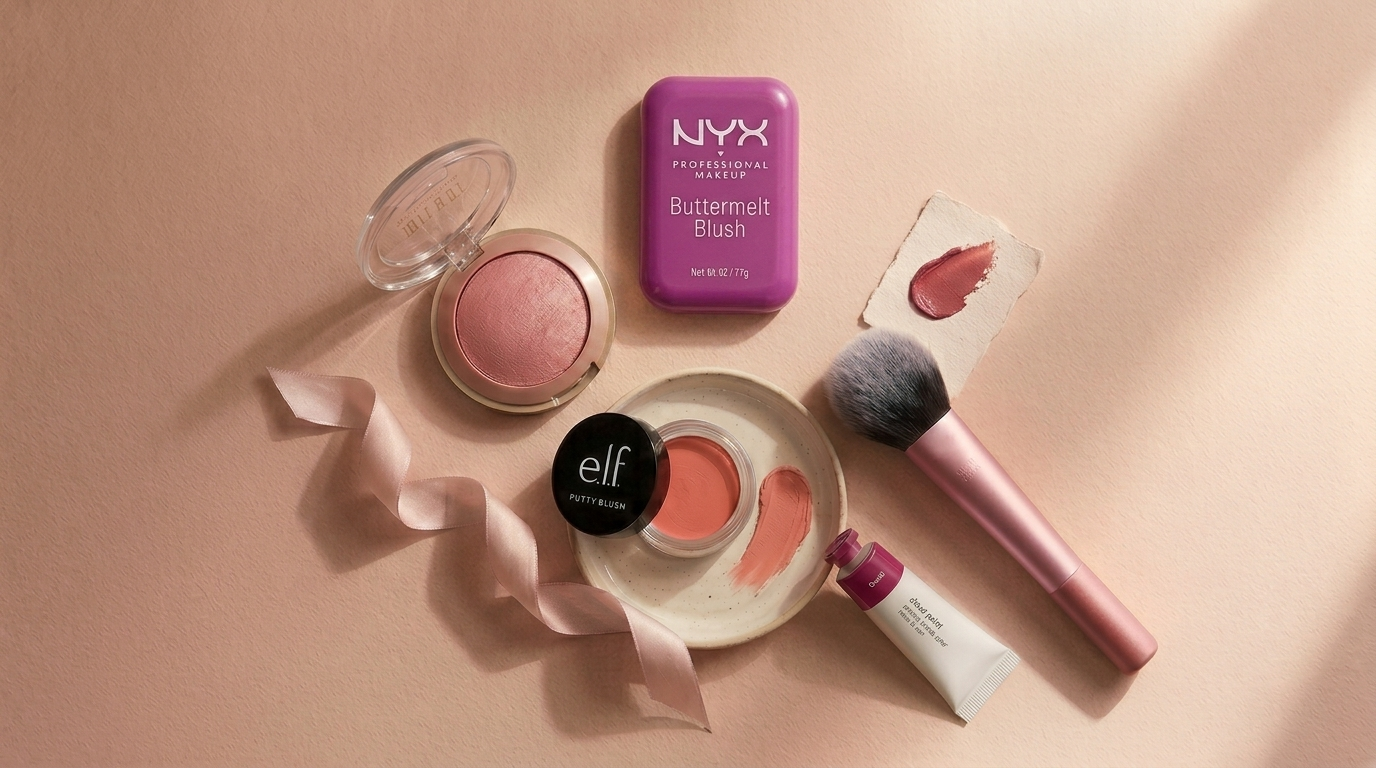
Let’s set the scene. It’s the Love Island USA reunion press run, the cameras are out, and Olandria Carthen walks in wearing a wash of pink blush so high and so happy it looked like she’d been told the best secret of her life. The internet lost it. Not in the polite, “pretty look” way. In the screenshot-it, save-it, send-it-to-the-group-chat way. By the next morning, roughly 14,800 people a month were typing her name into a search bar, and a real chunk of them wanted the same thing we did: how she got her cheeks to do that.
So we did the homework. We dug into the artist behind the look, the exact method she uses, and the blushes that get you there without spending your rent. Here’s the assignment, decoded.
A quick, honest note: some links below are affiliate links, which means we may earn a small commission if you buy through them. It costs you nothing extra, and we only point you toward things we’d actually put on our own faces. That’s the deal.
Why Olandria Carthen Sent Everyone Running to the Blush Aisle
Here’s the thing about a viral beauty moment. It’s rarely about one product. It’s about permission. Olandria Carthen didn’t just wear blush. She wore a lot of it, with full confidence, on deep skin, in a culture that spent the last few years whispering “less is more” at us like a wellness mantra. The look said the opposite out loud. More color. More joy. More face. And women everywhere, especially Black women, looked at it and thought, oh, we’re allowed to do that?
The artist making it happen is Ngozi Esther Edeme, the London-based talent the internet knows as Painted by Esther. And once you see her work, you can’t unsee it.
Who Is Painted by Esther
Ngozi Esther Edeme is a Nigerian makeup artist based in London, and she has quietly become the most influential name in blush right now. Her signature is a saturated, gradient-style flush: bright pink placed high on the cheekbones and feathered up under the eyes, blended so well it reads like the skin is just doing that. Fine-art training, celebrity client list, the whole resume.
And what a list. She’s painted SZA, Kelly Rowland, Doechii, Tyla, Viola Davis, Naomi Campbell, Raye, Anok Yai, Cassie, and Olandria Carthen, among many others. In May 2026, MAC Cosmetics put her and Olandria on the cover of its relaunched MACzine for an issue dedicated entirely to blush, which is roughly the beauty-industry equivalent of being handed the keys. For that campaign look, Esther reached for three MAC shades, Snob, LalaLavender, and Candy Yum Yum, layered into one of her trademark gradients.
You do not need MAC’s exact trio to get the effect, though. You need the method. So let’s get into it.
How to Apply Blush the Blueprint Way
The reason Esther’s blush looks expensive is not the price of the product. It’s that she treats blush like a painter treats color: in layers, not in one flat swipe. She builds a gradient using more than one shade, and she keeps going back to it throughout the rest of her routine instead of slapping it on once and walking away.
Here’s the move, broken down.
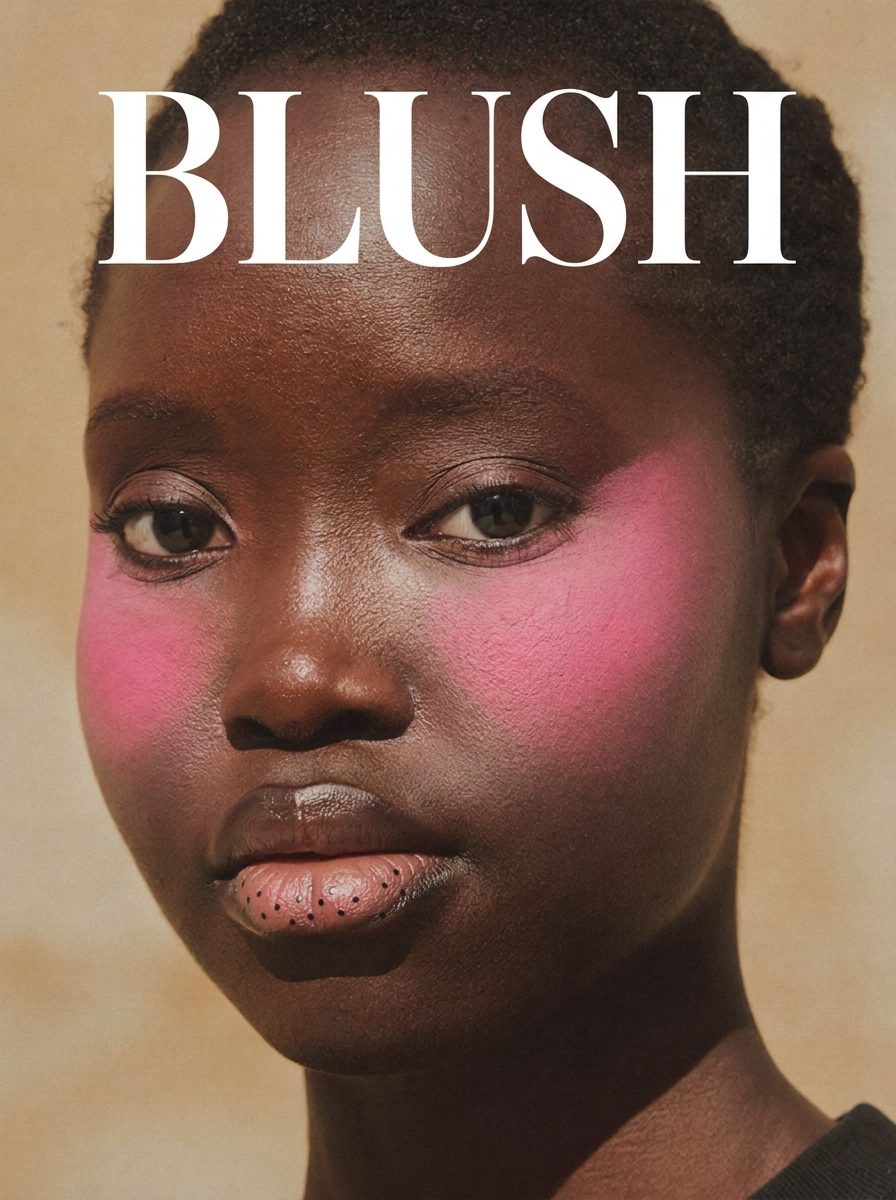
Step 1: Start with a transition shade
This is the softest, lightest pink in your lineup, and it does the same job a transition shade does on your eyes. It bridges. Sweep it a little wider than you think, high on the cheekbone and drifting up toward the temple. This is the wash everything else will melt into.
Step 2: Build the main shade
Now the hero color. This is your brightest, most saturated pink, and it goes on top of the transition shade but in a slightly smaller area, concentrated right on the apple and the high point of the cheek. Blend outward, into the lighter shade, never the other way around. Outside-in muddies it. Inside-out keeps it clean.
Step 3: Add depth, then keep coming back
A touch of a deeper shade, a berry or a rich rose, pressed right where the light hits highest, gives the look that lit-from-within dimension. Then the part everyone skips: revisit your blush after foundation, after concealer, after powder. Esther layers it through the whole face routine so it looks built into the skin rather than parked on top. That’s the gradient blush secret. Patience, in three thin coats.
If your skin is deep or dark and you’ve been told to fear bright color, read that again. The gradient is exactly how you wear a vivid pink without it looking chalky or sitting on the surface. Layering is the whole answer to blush for dark skin tones.
Build the Blueprint: the products that get you there
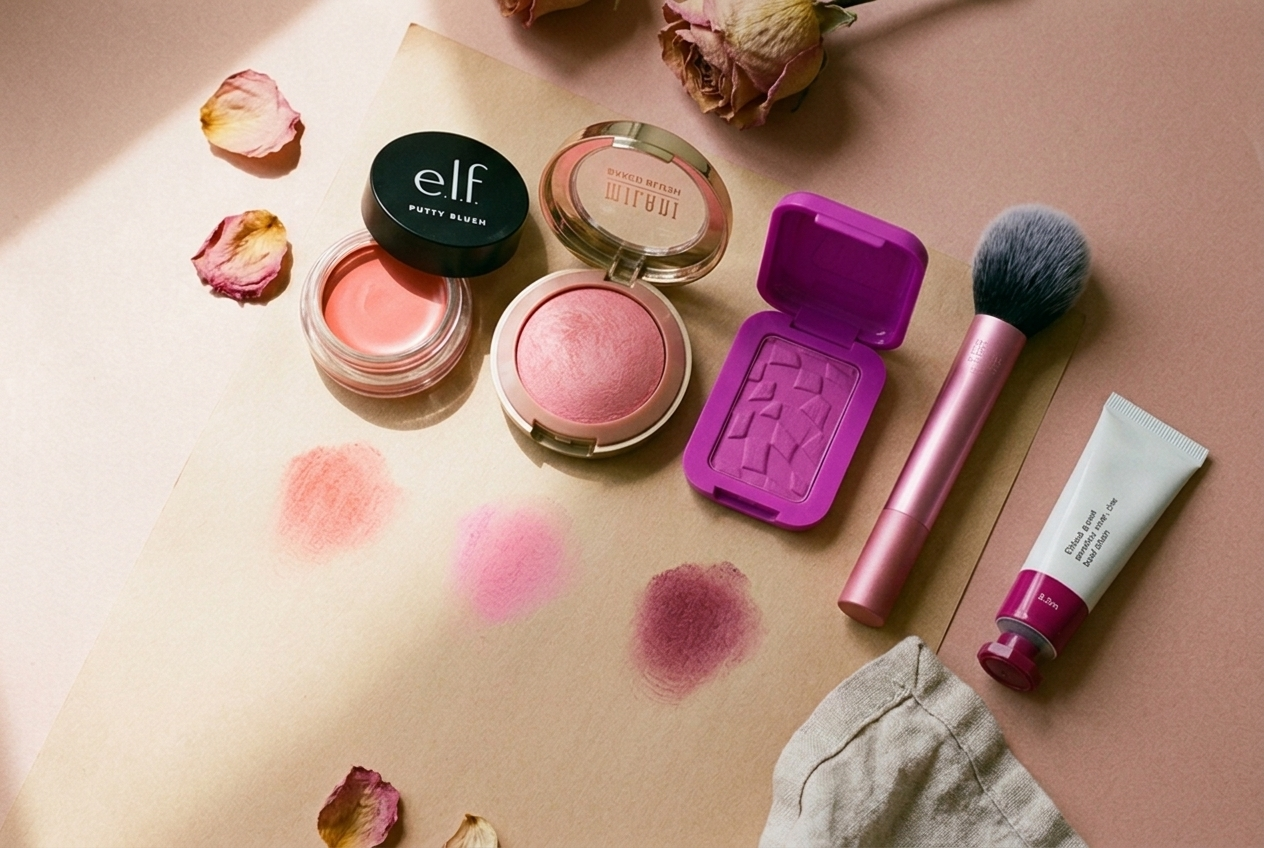
You can recreate this for around the cost of one fancy lunch. Here’s our tested trio, plus the brush that makes it easy.
- The transition shade: e.l.f. Putty Blush, $7. A cream-to-powder formula that melts in and gives you that soft first wash without any harsh edges. The price is almost suspicious for how good it is.
- The main shade: NYX Buttermelt Blush, $11. Highly pigmented and long-wearing, it comes in 12 buttery shades, from bright corals to a deep berry, that show up on every skin tone. This is your hero color.
- The depth: Milani Baked Blush, $7.99. The luminous finish is what sells the “lit from within” part. A shade like Dolce Pink or Berry Amore pressed on top adds glow and dimension in one step.
- The brush: Real Techniques Blush Brush, around $11. Soft, dense, and the right size to place color precisely instead of dusting it everywhere. A good brush is 80% of a good blush.
Want to splurge on a cream for the gradient instead? Glossier Cloud Paint, $22, is the cult pick for a reason. It’s sheer, blendable, and the deeper shades like Dawn and Eve are gorgeous on rich skin. One trio of drugstore blushes and a brush runs you about $37 total, which is the kind of math we like.
Blush Blindness Isn’t Real
Every few months the internet invents a new way to make us second-guess ourselves, and lately it’s “blush blindness,” the idea that you can pile on so much blush you stop noticing it’s too much. And look, we’ll say the quiet part plainly: Esther’s whole movement is a rebuttal to that fear.
The “you’ve gone too far” panic is the same energy that gave us the no-makeup makeup years, and it tends to land hardest on the women who were already told to make themselves smaller. The fix for worrying you’ve used too much blush is not using less blush. It’s using it well: the gradient, the blending, the layering we just walked through. Technique, not restraint. If your blush looks off, it’s almost never the amount. It’s the placement or the blend. Adjust those and you can wear as much color as your heart wants.
“Don’t Be Scared to Put Blush On”
This is the part that made the moment more than a pretty cheek. When Olandria talked about the look, she put it like this: “I love blush, shout out to Esther. I truly feel like it brings out my features, and I really want a lotta women with deep, dark skin tones to not be scared to put blush on. It’s beautiful, and it highlights our beauty that we already have within.”
We’re not going to talk over that. We’ll just say that for a long time, the beauty conversation acted like color was a risk for darker skin, when the truth is the opposite. Bright blush, applied in a gradient, is stunning on deep skin. The virality wasn’t only about a technique. It was about a lot of women seeing themselves in the mirror and finally being invited to play.
The Lineage: This Is Old Genius, Made New
None of this came from nowhere, and the good artists are the first to say so. The gradient, airbrushed cheek traces straight back to the late Kevyn Aucoin, whose 1997 book Making Faces laid out the soft, sculpted blush technique that artists still reference today. The 2000s gave us the high-coral-flush era, the kind of saturated cheek Devon Aoki wore like it was nothing. Esther’s work is the newest chapter in a very old story about color, and that lineage is part of what makes it feel both fresh and weirdly familiar.
The Patrick Ta Conversation, Briefly
We’d be leaving something out if we skipped this. Around the same time, makeup artist Patrick Ta launched a “transition blush” product, and a wave of BeautyTok users criticized the rollout for not crediting Esther, who had popularized the gradient look through her work on stars like Doechii, Tyla, and Olandria. Ta responded that he’d been developing his own version of the technique for some time, called Esther “amazing and so talented,” said he’d reached out about a paid collaboration that her team declined, and in a June 16 Instagram post apologized, writing that the launch “contributed to a larger issue than I first understood.”
We’ll leave the verdict on that one to you. What’s not in dispute is who put this particular blush moment on the map, and her name is at the top of this article.
So, What’s the Assignment?
Buy two or three pink blushes you actually like, in a light, a bright, and a deep. Get one decent brush. Build the color in layers instead of one swipe, blend inside to out, and go back to it as you finish your face. That’s the entire blueprint, and it works whether your blush cost seven dollars or twenty-six.
This whole “do more, on purpose” energy is part of a bigger shift we’ve been tracking, and if you want the full argument, read our piece on maximalism versus maxxing next. For now: pick your pinks, get a little fearless, and tag us when you try the three-blush method. We want to see the gradient.
FAQ
Can dark skin wear bright blush?
Yes, and beautifully. The trick is the gradient method: layer a soft transition shade under your bright main shade and blend inside-out so the color reads as glow, not chalk. Brights like raspberry and warm pink are stunning on deep skin.
What is blush blindness?
It’s the online idea that you can apply so much blush you stop noticing it’s too much. We’d push back: usually the issue isn’t the amount, it’s the placement or the blend. Fix your technique and you can wear plenty of color.
How many blushes do I actually need?
For the Painted by Esther gradient, two or three: a light transition shade, a bright main shade, and an optional deeper shade for dimension. One brush ties it together.
What’s the best blush for deep skin tones on a budget?
A buildable, pigmented pick like NYX Buttermelt Blush or Milani Baked Blush, layered. Both show up vividly without going ashy, and together they run around $20.
Shop This Post
| Product | Why we picked it | Price |
|---|---|---|
| e.l.f. Putty Blush | Soft cream transition shade | $7 |
| NYX Buttermelt Blush | Pigmented, long-wearing main shade | $11 |
| Milani Baked Blush | Luminous depth and glow | $7.99 |
| Real Techniques Blush Brush | Precise, soft placement | ~$11 |
| Glossier Cloud Paint | The cream splurge option | $22 |
Affiliate disclosure: this post contains affiliate links. We may earn a small commission on purchases made through them, at no extra cost to you. We only recommend products we’d genuinely use.